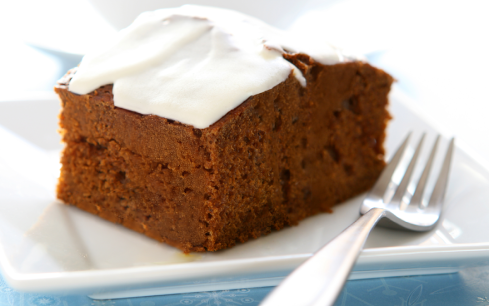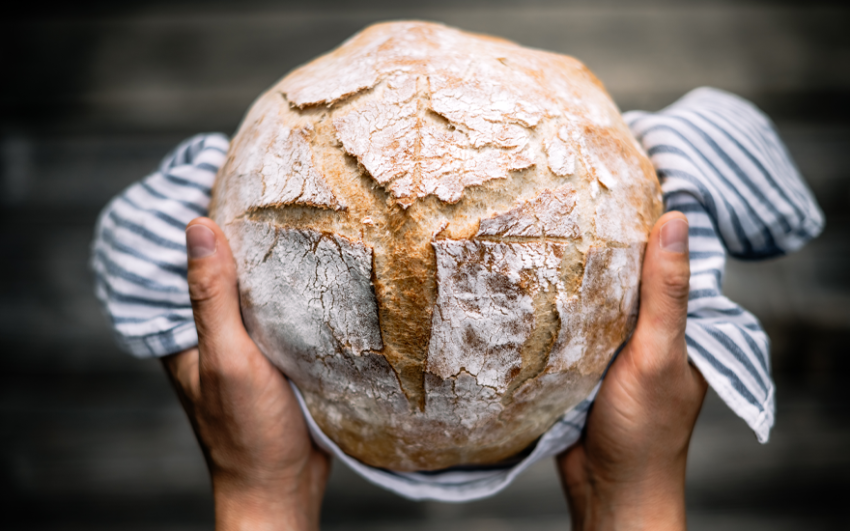
For 130 years, Royal Neighbors has stood as a symbol of tradition, endurance, and community—much like the humble sourdough, which has connected generations through the art of baking. One of the oldest forms of leavened bread, sourdough dates back over 5,000 years to ancient Egypt and was carried across continents by pioneers and homesteaders who relied on its natural fermentation to nourish their
families. As we celebrate our 130th anniversary, we honor the legacies that last—and invite you to share in one through this time-honored recipe.
Ingredients
1. Mixing the Dough
In a large bowl, mix the sourdough starter and warm water until the mixture appears milky and bubbly. Add the flour and mix for 7–10 minutes to begin developing a strong gluten network. Take the temperature of the dough and use a sourdough temperature chart to determine the proper bulk fermentation timing.
2. Adding Salt
After 30–60 minutes, add the salt. Pinch it into the dough until fully dissolved. Perform the first set of stretch and folds. Take the temperature again and adjust your fermentation timing based on the new temperature (do not use an average of the readings).
3. Stretch and Folds
Repeat the stretch and folds at least three times, every 20–45 minutes. After each set, take the dough’s temperature and adjust fermentation timing as needed.
4. Shaping the Dough
Once bulk fermentation is complete, gently let the dough fall naturally out of the bowl onto a clean surface. Coil fold the dough 6–7 times, then let it rest for 10 minutes.
5. Lamination and Final Shaping
Stretch the dough gently into a rectangle (this is the lamination step), then perform an envelope fold. Turn the dough and roll it up into a ball. Push and pull it on the surface to build good surface tension.
Optional:
Let the dough rest for 20–30 minutes, then repeat the lamination and folding steps.
6. Cold Proof
Flour a banneton or a bowl lined with a floured flour sack towel. Place the dough into the bowl topside down. Cover and refrigerate for at least 2 hours, preferably overnight or all day, for the second bulk fermentation.
7. Baking
When ready to bake, place your Dutch oven or baking vessel in the oven and preheat it to 500°F (260°C). Once preheated, carefully remove the dough from the fridge and turn it out onto a piece of parchment paper so the topside is now facing up. Score the loaf using a bread lame or razor blade — be as creative as you’d like! Place the scored dough into the preheated Dutch oven. Cover with the lid and immediately reduce the oven temperature to 450°F (232°C). Bake for 30 minutes. Then, remove the lid and continue baking for an additional 25–30 minutes, or until the crust is a rich golden brown.
8. Cooling
Let the bread cool for at least 2 hours before slicing to allow the crumb to set properly.
Storage Tips:
Store your bread in a paper bag, cloth bag, or bread box to maintain the crispy crust. It will keep on the counter for 3–4 days. To freeze, wrap the loaf tightly in plastic wrap or foil. It freezes beautifully! When ready to enjoy, spritz the frozen loaf with water and bake until warmed through.
Recipe Shared by Sadie Gerlach, Maquoketa, Iowa
If you have a recipe you’d like to share, please send it to editor@royalneighbors.org.
View more recipes at theroyalneighbor.org/recipes.